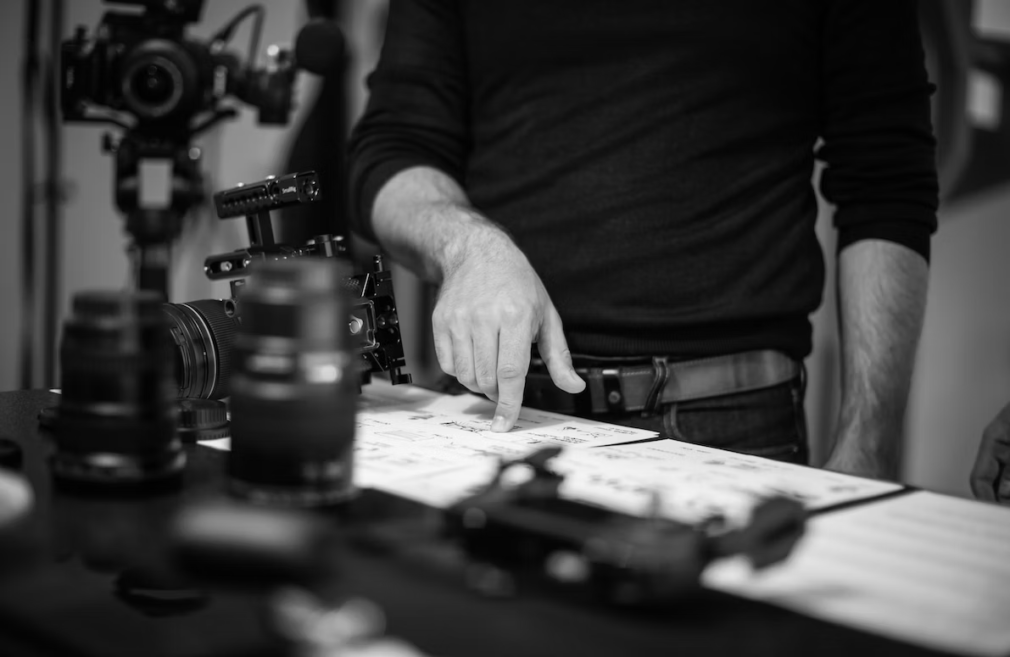
Animation and motion graphics are creative fields that involve a lot of planning and organization. To create a successful project, it’s important to have a clear understanding of the story you’re trying to tell and the message you’re trying to convey. This is where storyboards come in. A storyboard is a visual representation of your story, and it’s an essential tool for any artist. Today, you can make storyboard online with Storyboardthat – and in this article, we’ll discuss the benefits of this technique and how to use it.
What Is a Storyboard?
A storyboard is a visual representation of your animation or motion graphic that outlines the general structure, composition, timing, and motion of each shot or scene. Storyboards can be created using a variety of mediums, including sketches, digital illustrations, or even photographs.
In the animation and motion graphics industries, storyboarding is a crucial step in the production process. It allows animators and motion graphics artists to visualize their ideas and get feedback from clients and collaborators before moving on to the more time-consuming and expensive stages of production.
The Benefits of Storyboarding
Visualize Your Story
With storyboarding, you can see your story come to life before you’ve even started the animation or motion graphics process. This allows you to experiment with different storytelling techniques and pacing while still in the planning phase. When creating your storyboard, you can try out different camera angles, compositions, and shot distances to see what works best for your story.
Save Time and Money
Storyboarding can save you a lot of time and money in the long run. By laying out your animation or motion graphic in a storyboard, you can identify any potential problems or issues before you’ve invested valuable time and resources into the project. This allows you to make corrections and adjustments early on in the process, which can save you from having to redo entire sections of the project later on.
Collaborate Easily
Storyboarding is also an essential tool for collaboration. As an animator or motion graphic artist, you’ll likely be working with clients, producers, directors, and other members of your team. Storyboards allow you to clearly communicate your ideas and vision, making it easier for others to understand your creative vision and provide feedback.
Stay Organized
Animation and motion graphics projects can be complex and involve many moving parts. Storyboarding can help you stay organized by breaking your project down into manageable pieces. This allows you to focus on one scene or shot at a time, making the process more efficient and less overwhelming.
Experiment and Revise
Finally, storyboarding allows you to experiment and revise your ideas without committing to the final product. Because storyboards are a visual representation of your project, you can make changes and adjustments to your animation or motion graphic without having to start over completely. This makes the process more flexible and adaptable, allowing you to refine your project until it reaches its full potential.

How to Create a Storyboard
Now that we’ve discussed the benefits of storyboarding, let’s go over the steps to create a storyboard for your animation or motion graphics project.
- Define Your Story: The first step of creating a storyboard is defining your story. What message are you trying to convey? Who is your target audience? What tone and style are you aiming for? These are all important questions to consider before you start creating your storyboard.
- Create a Script or Outline: Once you’ve defined your story, it’s time to create a script or outline. This will serve as the backbone of your storyboard, outlining the plot, characters, and scenes you want to include in your animation or motion graphic.
- Sketch Your Shots: With your script or outline in hand, you can start sketching your shots. This involves breaking down each scene into individual shots and creating a rough sketch or illustration of what each shot will look like. You can use a pencil and paper, a digital drawing tablet, or a storyboard software tool to create your sketches.
- Add Shot Descriptions and Notes: Once you’ve sketched your shots, it’s time to add descriptions and notes. This includes any important details or instructions for each shot, such as camera angles, shooting distances, character movement, and timing. You can also include notes about sound effects, music, and dialogue.
- Add Transitions and Visual Effects: As you’re sketching your shots and adding shot descriptions and notes, you should also consider how you’ll transition between each shot and add any visual effects or animations you want to include. This could involve adding fade-ins and fade-outs, wipes, dissolves, or other transitions, as well as special effects like particle effects, lighting, and color grading.
- Review and Revise: Once you’ve completed your storyboard, it’s important to review and revise it as needed. Show it to your team members or clients and get their feedback. Make notes of any changes or adjustments you need to make and update your storyboard accordingly.
Final Thoughts
Storyboarding is an essential tool for any animator or motion graphic artist. It allows you to visualize your ideas, saves you time and money, makes collaboration easier, helps you stay organized, and allows you to experiment and revise your project. By incorporating storyboarding into your creative process, you can create animations and motion graphics that are more effective, engaging, and successful.


